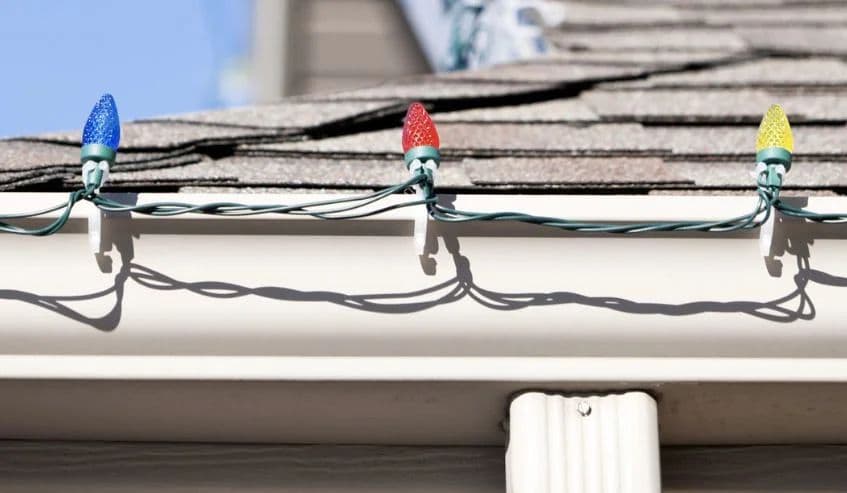
How to Measure Your Roofline for Christmas Lights
Measure every roof edge as separate runs, include lead cords and vertical drops, and add a 10–15% buffer for accurate Christmas light quotes.
The short answer: measure every roof edge you want lit as a separate run, add lead cords and vertical drops, then add a 10%–15% buffer before asking for a quote.
If you want a solid Christmas light estimate, your roofline measurement should include more than one total number. List each section on its own: front eave, garage return, gable rakes, dormers, porch roof, and any upper-story lines. For many homes, a laser measurer from the ground can land within 1%–2% of tape-measure results, while vertical drops often add 8–20 feet each.
Here's the full picture at a glance:
- Measure only what you want lit
- List each run one by one
- Measure sloped gables by slope length, not flat width
- Track outlet locations and lead cords
- Add vertical drops where lights run straight down
- Include a 10%–15% buffer for corners, slack, and small misses
- Do not turn footage into bulb counts until spacing is known
For capes, colonials, and triple-deckers, this matters even more because the roofline is often split into many short sections instead of one long line. Getting these numbers right up front is also what makes a holiday light installation quote accurate on the first pass instead of getting revised once a crew is on site measuring the same runs again. The guide below shows how to size each run, choose the right ground method, and send quote-ready numbers without guessing.
Measure Each Roofline Run One Section at a Time
Use the layout you mapped earlier and log each lit edge as its own line item. Walk the perimeter and write down every lit edge separately. Don’t use one grand total for the whole house. Crews need footage by run so they can stage cord and catch shortages before install. If the roofline breaks at an offset or bump-out, log that return as its own run.
For gable rakes, measure the sloped edges, not the flat span below. A simple ground method is to use the gable span to estimate both rakes together, then apply a pitch factor.
Use this quick pitch factor guide for a fast ground estimate:
| Roof Pitch | Pitch Factor | Approximate total rake length for a 20-ft-wide gable |
|---|---|---|
| 4/12 | 1.054 | 21.1 ft |
| 6/12 | 1.118 | 22.4 ft |
| 8/12 | 1.202 | 24.0 ft |
| 10/12 | 1.302 | 26.0 ft |
| 12/12 | 1.414 | 28.3 ft |
Mark any run that’s steep, blocked, or high on your sheet.
How to Record Each Run Clearly
Label each run by location and feature - front main eave, left gable rake, garage eave, or dormer side. Also note where each run starts and ends.
That small step saves a lot of back-and-forth later. When a crew pulls up to the job, they should be able to look at the sheet and know exactly what goes where.
What to Watch for on Capes, Colonials, and Triple-Deckers
Cape Cods often break into several short runs, especially at the front rakes and dormers. Measure each dormer side on its own. Rake edges on Capes often don’t have gutters, so shingle tabs are usually used there instead of gutter hooks.
Colonials often split into a first-story run, second-story run, and garage return. Measure each one on its own.
Triple-deckers need separate measurements for each story’s gutter line and for each porch roof edge. Upper lines on triple-deckers are often tough to see from the street, so confirm each run from the ground before you write it down.
Once every run is listed, add the footage before you estimate bulbs.
sbb-itb-634c8b2
Add Up the Footage Without Guessing Bulb Counts
Once the runs are on your sheet, combine them into one total. On Rhode Island capes, colonials, and triple-deckers, it helps to total each run on its own first, then add everything into one quote-ready number. That matters because these homes often have broken-up rooflines with lots of short sections, and each one needs to be tracked on its own.
Use a Simple Total-Footage Formula
Keep the quote clean by starting with the footage for each separate run: front eave, garage eave, dormers, and gables. Then add any vertical drops, but only where the lights run straight down a surface, like porch columns or entry posts. Each drop usually uses 8 to 20 feet of cord.
Also, track lead length on its own. That’s the cord running from the plug to the first lit section.
After that, add a 10% to 15% buffer for corners, routing waste, and small measuring mistakes.
Do Not Convert Footage to Bulb Counts Until Spacing Is Known
Start with footage and leave bulb counts for later. The reason is simple: spacing changes everything.
For example, 150 feet at 12-inch spacing equals 150 bulbs, while 15-inch spacing equals 120 bulbs and 18-inch spacing equals 100 bulbs. Same footage, different bulb counts.
If the total still feels a little uncertain, the next step is picking the right measuring method.
Pick the Right Measuring Method for the House
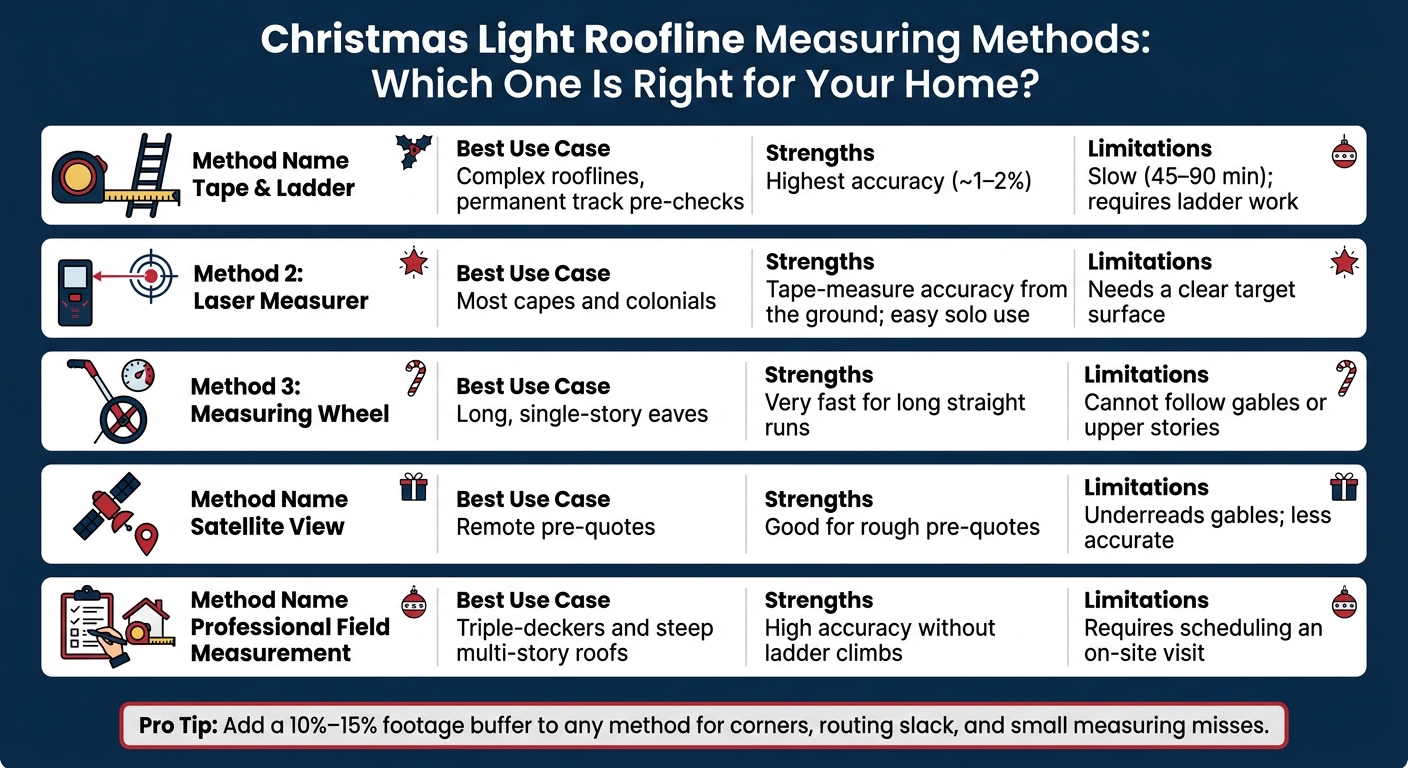
Christmas Light Roofline Measuring Methods: Which One Is Right for Your Home?
Use the measuring method that fits the house. Roof height, shape, and sightlines all matter. The goal is simple: use the safest method that still catches every lit run.
If the roofline is low and easy to see, a ground-based method may do the job. If the house is tall, steep, or chopped up with gables and upper sections, you’ll need something more exact.
| Method | Best Use Case | Strengths | Limitations |
|---|---|---|---|
| Tape & Ladder | Complex rooflines, permanent track pre-checks | Highest accuracy, around 1–2% | Slow, about 45–90 minutes; requires ladder work |
| Laser Measurer | Most Rhode Island capes and colonials | Tape-measure accuracy from the ground; easy to use alone | Needs a clear target |
| Measuring Wheel | Long, single-story eaves | Very fast for long, straight runs | Cannot follow gables or upper stories |
| Satellite View | Remote pre-quotes | Good for rough pre-quotes; less accurate on gables | Underreads gables |
| Professional Field Measurement | Triple-deckers and steep multi-story roofs | High accuracy without ladder climbs | Requires scheduling an on-site visit |
When Ground Methods Are Enough
For most Rhode Island capes and colonials, a laser distance measurer is the best default. You get tape-measure accuracy from the ground, which means less hassle and less ladder work.
A measuring wheel can also work well, but only in the right setting. It’s fast on long, straight, single-story eaves. The catch is that it can’t follow a gable or reach a second story. So if you use it only on the first-floor eaves of a two-story colonial, there’s a good chance you’ll miss a big chunk of the roofline.
When to Request a Professional Field Measurement
Some houses make ground methods shaky, or just plain unsafe. Rhode Island capes often run 10/12 pitch or steeper. On steep gables, you need a corrected pitch measurement, not a flat-ground guess.
Two-story colonials with rooflines around 22 to 28 feet off the ground push the limit of safe solo measuring. Triple-deckers and other multi-story homes often have blocked sightlines too, so a ground laser may struggle to lock onto the target. In that case, a professional walkthrough is usually the better move.
If the roof is steep, high, or hard to read from the ground, use a professional field measurement and keep it with your run-by-run notes before you request the quote. Then check those numbers against your run-by-run sheet before you send anything out.
Final Check Before Requesting a Holiday Light Quote
With the roofline measured by run, do one last pass before you send the quote request.
Compare your run sheet with a straight-on facade photo. Check the front eaves, garage returns, dormers, and gables against your notes. Write down each run on its own line so the installer can stage materials the right way.
After that, review the outlet plan. Confirm the outlet closest to the first lit run and count every vertical drop. Each drop usually needs 8 to 20 feet of cord, so missing even one can throw off the material estimate.
Your total footage should also include a 10%–15% buffer for corners, routing, and slack. A small measuring mistake can leave out enough footage to change the quote and force a return visit. And one more thing: don’t convert footage into bulb counts until spacing is confirmed.
This last review helps you catch missed runs, outlets, and slack before you send the numbers.
| Item to Review | Use |
|---|---|
| Individual run lengths | Helps the crew stage materials and shows where a run may come up short. |
| Outlet locations and drop count | Shows how many extension cords and timers are needed. |
| 10%–15% footage buffer | Covers corners, peaks, and routing slack. |
| Facade photo | Confirms no sections were missed and supports remote re-measurement. |
| Elevation groupings | Helps installers stage materials by level. |
A clean, run-by-run sheet gives the installer what they need for a fast, accurate quote. If the sheet is complete, send it with the quote request.
Conclusion: Accurate Measurements Lead to Accurate Quotes
A run-by-run measurement sheet is what separates a fast, correct quote from a return visit and a revised estimate. The homes that cause the most trouble, capes with multiple dormers, colonials with split stories, triple-deckers with stacked porch lines, are exactly the ones where a single rough total falls apart.
Take the extra time to log each run, track your outlets and drops, and add the buffer before you send anything out. Downspout Services works from exactly this kind of run-by-run sheet when scoping a Christmas light installation, since accurate footage upfront is what keeps a Rhode Island quote from changing once a crew gets on-site and starts measuring the same roofline again.
FAQs
How do I measure a roofline with multiple dormers?
Measure each dormer as its own line item instead of rolling them into one total. Record the front gutter, each gable rake, and every dormer face on separate lines.
Overhead imagery can miss dormers, so check Street View to find them and confirm the dimensions. For the best accuracy, measure by hand with a tape measure or use a photo measurement app, then add 10% to 15% for corners and routing.
What if I can’t see the upper roofline from the ground?
Use satellite imagery tools like Google Maps or Google Earth to trace your roof edges from above. That gives you a solid starting point for planning. But a top-down view can miss details like dormers, porch returns, and other small roof sections that change the total.
For a closer estimate, check your home’s building plans or measure from the ground with a laser distance tool. Then add 10% to 15% to cover corners, slack, and power connections.
How much extra footage should I add for cords and slack?
Add a 10% to 15% buffer to your total linear footage for corners, peaks, and power connections.
On many New England homes, that extra length helps cover roof returns, dormers, and the run to your power source. It also helps to account for any vertical drops from the roofline to outlets, which can take 8 to 20 feet of extension cord each.
Related Blog Posts
Heading 1
Heading 2
Heading 3
Heading 4
Heading 5
Heading 6
Lorem ipsum dolor sit amet, consectetur adipiscing elit, sed do eiusmod tempor incididunt ut labore et dolore magna aliqua. Ut enim ad minim veniam, quis nostrud exercitation ullamco laboris nisi ut aliquip ex ea commodo consequat. Duis aute irure dolor in reprehenderit in voluptate velit esse cillum dolore eu fugiat nulla pariatur.
Block quote
Ordered list
- Item 1
- Item 2
- Item 3
Unordered list
- Item A
- Item B
- Item C
Bold text
Emphasis
Superscript
Subscript