How to Winterize Outdoor Areas Against Mold
Clean, fix drainage, improve airflow, and seal only dry surfaces weeks before freeze to stop outdoor mold and costly winter damage.
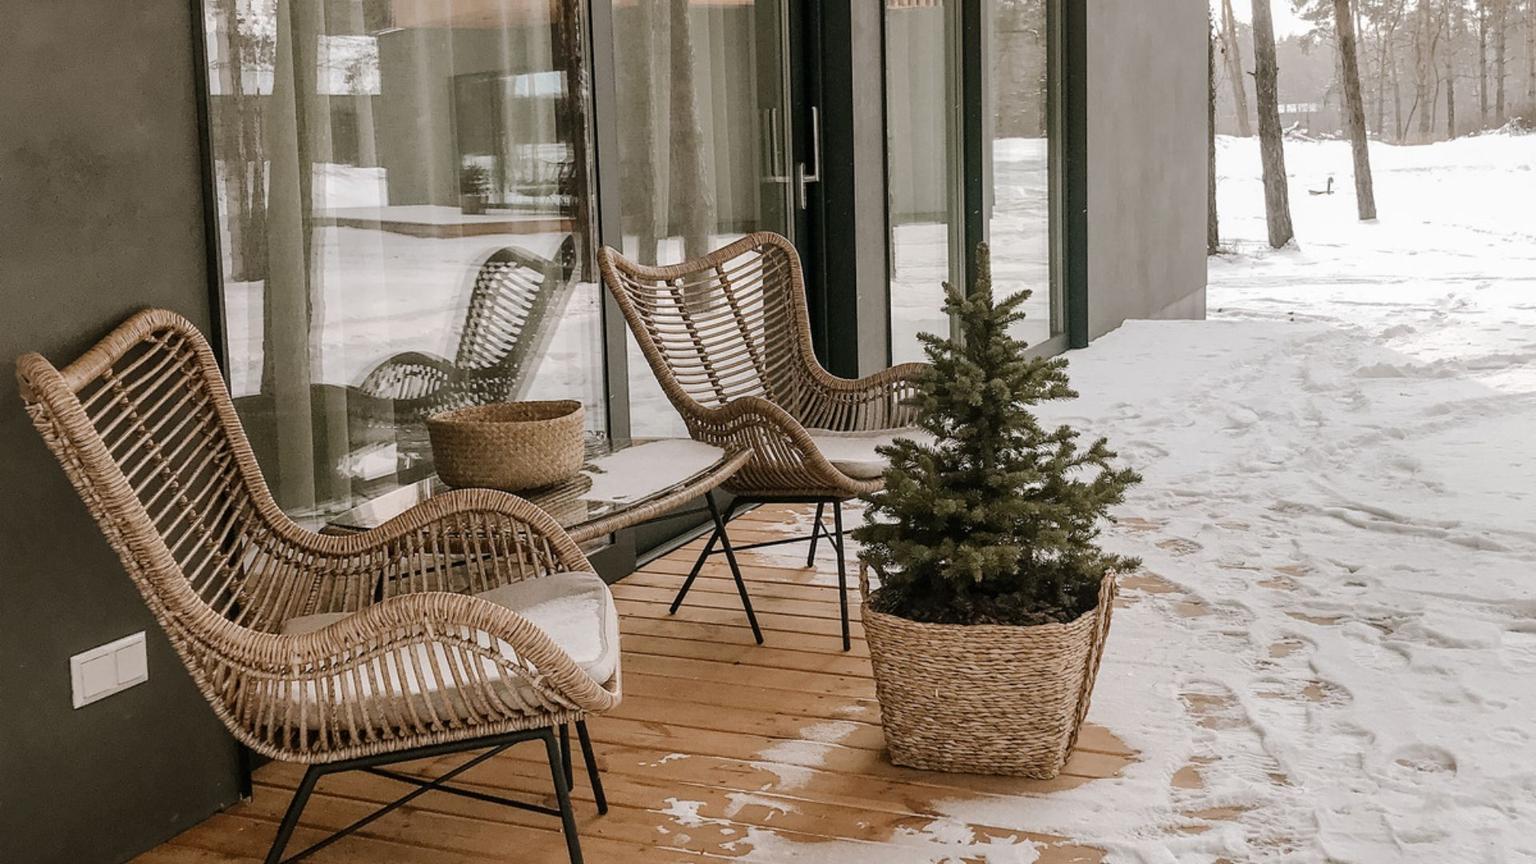
Outdoor mold prevention starts before the first hard freeze: clean surfaces, fix drainage, improve airflow, seal dry materials, and store outdoor items only after they are fully dry.
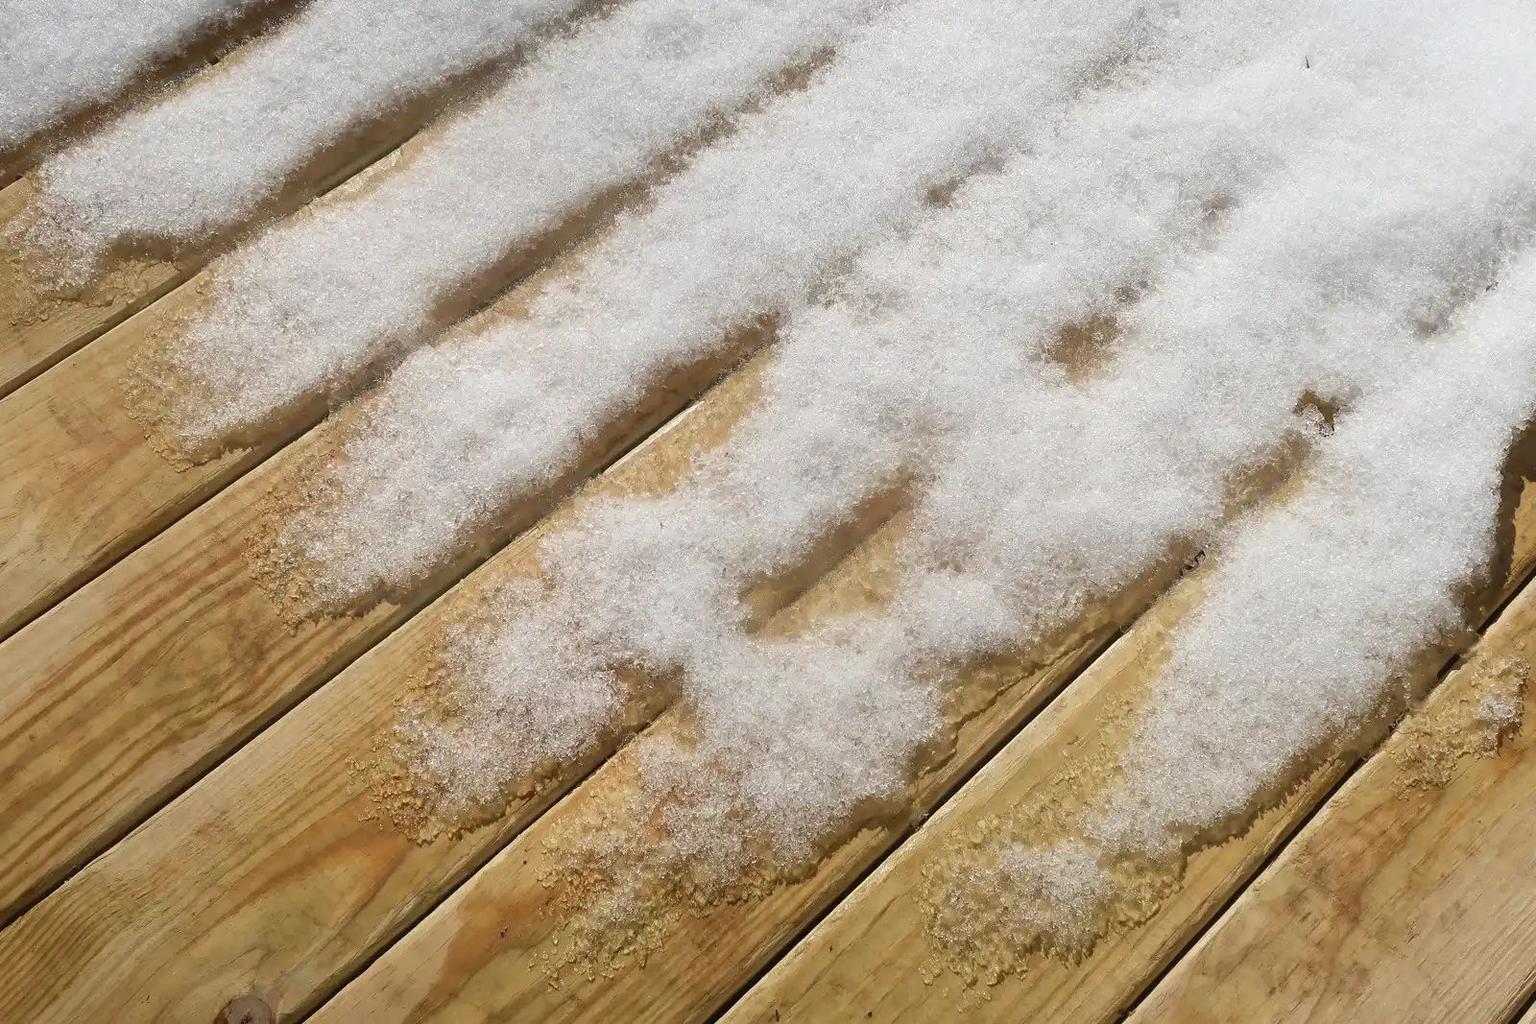
If moisture sits through fall and winter, mold can still grow. Wet leaves, clogged gutters, shaded siding, and cracks in wood or concrete give water a place to stay. During freeze-thaw cycles, water expands by about 9% when it freezes, which can turn small gaps into larger ones.
Here’s the short answer for homeowners and property managers:
- Start 6 to 8 weeks before your first hard freeze
- Clean decks, fences, patios, pavers, siding, gutters, and furniture
- Dry surfaces for 24 to 72 hours after washing
- Move water away from the home with clear gutters, working downspouts, and proper grading
- Trim plants back so walls and decks dry faster
- Seal only dry surfaces, ideally in temps above 50°F
- Store cushions and outdoor items dry, and avoid airtight plastic covers
The main spots to check first are:
- Decks and fences, mainly the bottom 6 inches
- Patios, pavers, and walkways
- North-facing siding and walls
- Gutters, downspouts, and roof edges
- Outdoor furniture and planters
- Vinyl siding
| Area | Main risk | What to do before winter |
|---|---|---|
| Decks and fences | Leaves, soil, trapped moisture | Sweep, scrub, dry, and seal |
| Patios and pavers | Silt in joints, standing water | Clean joints, fix drainage, seal if needed |
| Siding and walls | Slow drying in shade | Soft wash, trim plants back |
| Gutters and downspouts | Overflow, ice dams | Clear clogs and extend runoff away from house |
| Furniture and cushions | Mildew during storage | Clean, dry fully, and store with airflow |
This guide walks through the cleanup, drying, drainage, sealing, and storage steps that help your outdoor surfaces stay cleaner and last longer through winter.
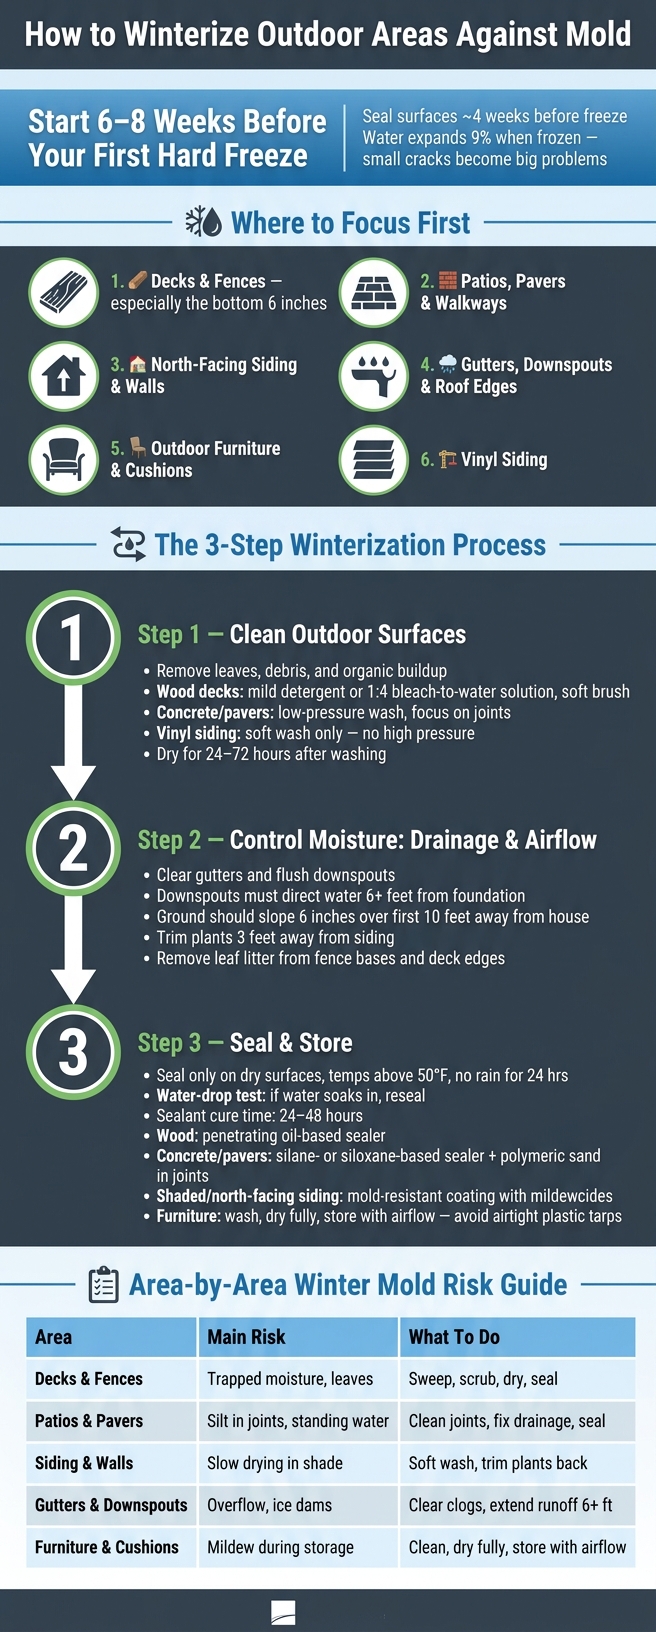
How to Winterize Outdoor Areas Against Mold: 3-Step Checklist
Winterize Your Home to Prevent Water Damage and Mold
sbb-itb-634c8b2
Step 1: Clean Outdoor Surfaces Before Freezing Weather Arrives
Clean and dry outdoor surfaces before the first hard freeze. A good rule is to start 6 to 8 weeks before your expected freeze date so you have enough time for cleaning, minor fixes, and full drying. First, clear away debris. Washing works better after the surface is free of leaves, dirt, and buildup.
Remove Leaves, Dirt, and Organic Buildup
Leaves, pine needles, mud, and pollen do more than make a space look untidy. They trap moisture right against the surface. Wet leaves and mulch also collect at the base of fences and perimeter walls, where they keep materials damp.
Go through the property one area at a time. Sweep decks and clear patios first, then move to walkways, steps, and corners. Pay extra attention to the bottom 6 inches of fences and perimeter walls. That’s where debris often piles up and pulls moisture into wood or vinyl. If you have pavers, pull weeds from the joints too. Their roots can widen cracks during freeze-thaw cycles.
Once the surface is clear, you can start washing.
How to Wash Decks, Patios, Siding, and Hard Surfaces
The best cleaning method depends on what you're working on:
- Wood decks: Use a mild detergent or a 1:4 bleach-to-water solution if you see mildew. Test a small spot first. Scrub with a soft brush, and skip high pressure since it can gouge the grain or splinter the wood.
- Concrete and pavers: Use low-pressure washing so you don't etch the surface. Spend extra time on the joints where silt tends to settle.
- Natural stone: Stick with a soft brush and a pH-neutral detergent. Harsh acidic or alkaline cleaners can damage the surface in ways that are hard to predict.
- Vinyl siding: Use soft washing with a mild cleaner. High pressure can push water behind the panels and leave moisture trapped there.
After washing, rinse everything well to remove soap and loosened grime. Then let surfaces dry for 24 to 72 hours before sealing or before the first freeze hits.
For roofline work, stay off ladders and keep DIY cleaning to single-story heights.
When to Hire a Professional Exterior Cleaning Service
Bring in a professional for rooflines, large properties, or spots that are hard to reach. Roof washing needs low-pressure soft-wash methods. Strong water flow can strip granules from shingles or crack tiles.
Downspout Services provides house washing, roof washing, and gutter cleaning for residential and commercial properties across Rhode Island and Connecticut.
Step 2: Control Moisture Through Drainage and Airflow
Once you've cleaned the surfaces, the next job is simple: keep water moving and air flowing. When damp spots dry sooner, mold and mildew have a much harder time sticking around.
Clean and Inspect Gutters and Downspouts
Clogged gutters can dump water onto siding, foundations, decks, and walkways. That leaves surfaces wet long enough for mold and mildew to spread. It's an even bigger issue with stucco, which can soak up overflow and stay damp long enough to support mold.
Clear out leaves and pine needles, then flush each downspout to make sure water moves through without trouble. Downspouts should send water at least 6 feet away from the foundation. If you have underground drainage lines, check those too for blockages.
Fix Pooling Water Around Decks, Patios, and Walkways
After rain or snowmelt, look for spots where water just sits. Low areas, packed soil, and blocked runoff paths can keep moisture pressed against exterior walls and hard surfaces far longer than it should.
The ground should slope away from the house by about 6 inches over the first 10 feet. If that slope has settled or gone flat, fill low spots before the ground freezes. Near downspouts, use splash blocks or extensions to push water away from pavers and walkways. And if you have patio or driveway drains, clear out debris so runoff doesn't back up.
Trim Back Vegetation to Help Surfaces Dry
Thick shrubs, vines, and low tree limbs can hold in moisture and block sunlight. Keep plants about 3 feet away from siding and exterior walls. Trim tree limbs that hang over decks and siding, but hold off on major pruning of live shrubs until late winter or early spring so you don't trigger new growth right before a freeze. Clear leaf litter and other organic buildup from the base of fences and along deck edges, where moisture tends to linger the longest.
With drainage and airflow handled, you're ready to move on to sealing and storing outdoor items.
Step 3: Seal Surfaces and Store Outdoor Items Properly
Once you've fixed drainage and airflow, the next move is to seal dry surfaces and put outdoor items away before winter moisture comes back. Dry surfaces hold sealer better, so wait until runoff is under control and everything has had time to dry.
Apply Sealers and Protective Coatings After Surfaces Dry
Timing matters here. Apply sealer on a dry day with temperatures above 50°F and no rain in the forecast for at least 24 hours.
Only seal a surface after it has fully dried again following cleaning. A simple water-drop test can help: if the drops bead up, the old sealer is still working; if the water soaks in, it's time for a new coat.
Most sealants need 24 to 48 hours to cure before people walk on them, so give yourself some room in the schedule.
After sealed surfaces have cured, you can turn to furniture and cushions.
Choosing the Right Protection for Wood, Pavers, and Siding
Not all sealers are made for the same job. The product needs to match the surface.
- Wood decks and fences: Use a penetrating oil-based sealer instead of a film-forming product. Film-forming finishes can trap moisture and blister during freeze-thaw cycles.
- Concrete, natural stone, and pavers: Use a silane- or siloxane-based penetrating sealer. Fill paver joints with polymeric sand to block water from getting in and to cut down mold growth between stones.
- Siding and painted wood on shaded walls: Use a mold-resistant coating with built-in mildewcides for humid spots or north-facing surfaces.
Pick the right product before you store anything for winter.
How to Clean, Dry, and Store Outdoor Furniture to Prevent Mildew
Wet cushions and damp frames can pick up mildew over the winter, so don't put them away while they're still moist. Wash frames with mild detergent and water. If you see mildew spots, use a 1:4 bleach-to-water solution and spot test first. For fabric cushions, follow the manufacturer's care instructions, and make sure each piece is fully dry before storage.
If you can, store cushions indoors. When space is tight, vented bins with desiccant packs are a good backup. If furniture has to stay outside, use vented, water-resistant covers instead of airtight plastic tarps. Plastic tarps tend to trap condensation, and that's exactly what mildew likes.
Set furniture and planters on risers so moisture doesn't get trapped underneath.
Conclusion: A simple winter mold-prevention checklist
Use this quick checklist to wrap up fall prep: clean surfaces, fix drainage, improve airflow, seal dry materials, and store items dry. It’s a simple plan, but timing matters.
Start deep cleaning and repairs 6 to 8 weeks before the first freeze. Then seal dry surfaces about 4 weeks before. Acting early can help you avoid damage and repair bills later. Water expands about 9% when it freezes, turning small cracks into bigger problems.
If the job is too big or tough to reach, Downspout Services provides exterior cleaning for homes and businesses in Rhode Island and parts of Connecticut to help surfaces stay dry and resist mold all winter.
FAQs
Can mold still grow outside in winter?
Yes. Cold weather doesn’t stop mold, algae, or mildew. During winter, damp and shady spots around your home can still give them room to grow.
If you leave them alone, they can stick around all winter and lead to more damage by spring, including damage to your home’s surfaces and even parts of its structure.
What if it’s too cold to seal surfaces?
If the temperature is too low, wait before sealing outdoor surfaces. Most sealants work best at around 75°F, with no rain for 24 to 48 hours, so they have time to cure the way they should.
Apply a sealant in cold or damp weather, and you can run into problems fast. It may fail sooner than expected, or it can leave behind a cloudy white haze when moisture gets trapped under the surface. For the best results, schedule sealing for early fall, before freeze-thaw cycles start.
How do I know if outdoor items are dry enough to store?
Outdoor items are ready to store only when they’re fully dry after cleaning and rinsing. Any leftover moisture can lead to mildew, odors, or wear while the items sit in storage.
Cushions and fabric pieces should dry all the way in the sun before you move them indoors or place them in ventilated bins set off the ground. If they feel even a little damp, give them more time.
For furniture and hardscapes that stay outside, make sure every surface looks dry and feels dry to the touch before you add sealants or put on covers. Stick with breathable covers instead of sealed plastic, and never cover anything while it’s still damp.