Ultimate Guide to Holiday Light Maintenance
Inspect, hang, troubleshoot, and store holiday lights safely with pre-checks, proper mounting, GFCI use, in-season inspections, and dry storage.
Most holiday light problems start before the lights go up. If you inspect strands, stay within circuit limits, use outdoor-rated cords, check GFCI outlets, and store lights the right way, you cut the chance of outages, shorts, and home damage during the season.
Here’s the short answer: holiday light maintenance means checking lights before installation, hanging them safely, inspecting them after bad weather, fixing small problems early, and storing them dry and labeled after removal. Most home circuits are 15 or 20 amps, outdoor surfaces for adhesive hooks often need to be around 50°F to 90°F, and every outdoor setup should use a GFCI-protected outlet.
At a glance, you should focus on:
- Before hanging: inspect wires, bulbs, plugs, and sockets
- Before plugging in: test each strand and check wattage load
- During installation: use clips instead of nails, screws, or staples
- During the season: check for moisture, loose strands, and failed bulbs after wind, snow, or rain
- When problems show up: start with the outlet, GFCI, breaker, fuse, and then the strand
- After the season: remove lights gently, clean them, label them, and store them in a cool, dry place
- For tall or risky areas: use a pro instead of climbing on steep or icy rooflines
The guide below walks through each step in plain terms, so you can keep your display working, safe, and easier to deal with next year.
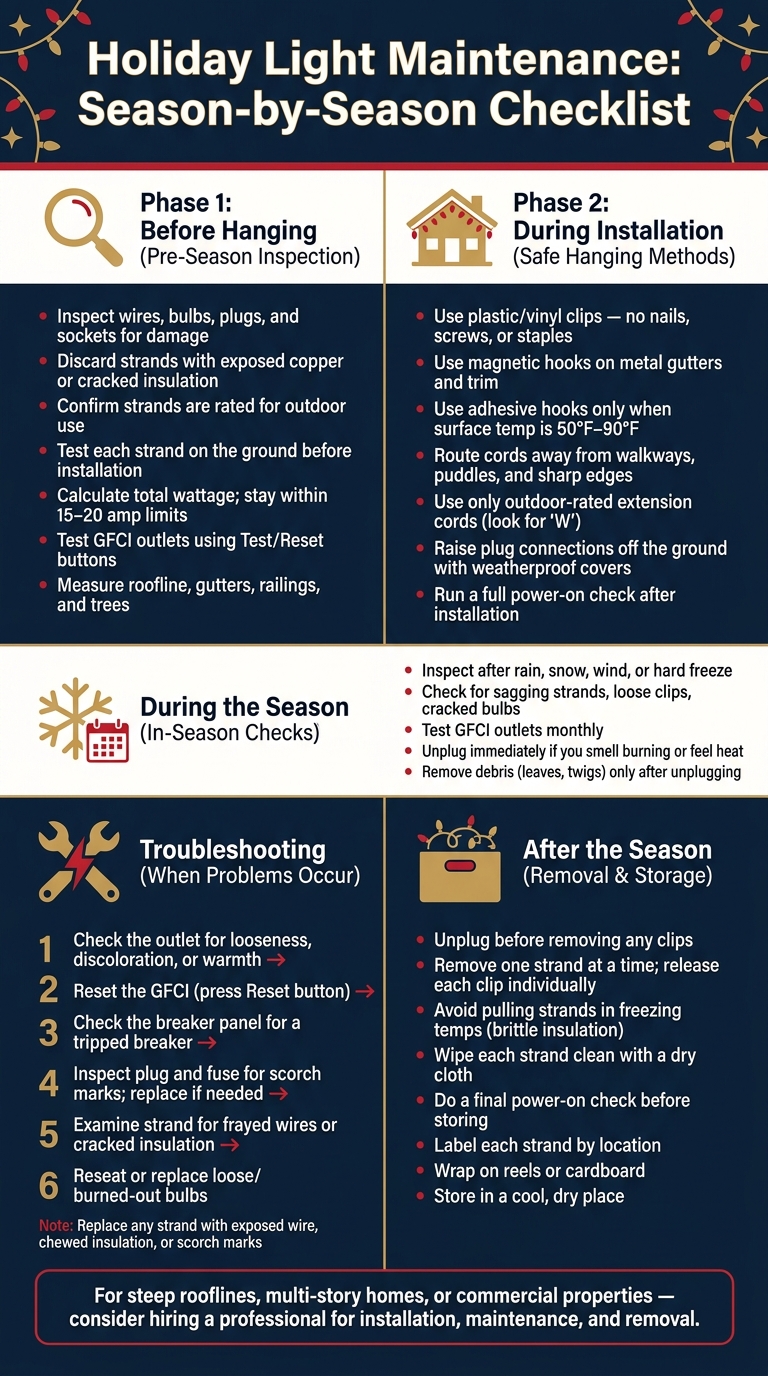
Holiday Light Maintenance Checklist: Before, During & After the Season
Christmas Lighting Tips | Troubleshoot and Repair Roofline Lights
sbb-itb-634c8b2
Preseason Inspection and Planning Before You Hang Any Lights
Before you climb up, do the prep work on the ground: inspect, test, and measure. That one step can save you from dead strands in December, tripped breakers, and extra trips up and down the roof.
Inspect Light Strands, Plugs, and Bulbs for Damage
Unpack each strand and lay it out flat in a bright area. Then check it closely. Look for frayed wires, cracked insulation, loose sockets, and corrosion around the bulb bases. Check both ends of every plug too. Discoloration or warmth can point to internal damage.
If you see exposed wire, stop there. Retire that strand right away instead of trying to patch it with electrical tape.
Swap out any burned-out bulbs so the display looks even. Also make sure every strand you plan to use outside is rated for outdoor use. Indoor lights aren't made for moisture or temperature swings, and they can short out or turn into a fire risk in winter weather.
Test Each Strand and Confirm Safe Power Limits
Before anything goes on the house, plug in each strand on the ground and check for dead sections or flickering bulbs. It takes a few minutes, and it can spare you a lot of hassle later.
You should also calculate total wattage before installation so the load stays within circuit capacity. Most household circuits are rated for 15 or 20 amps. If you load too many high-wattage incandescent strands onto one circuit, you can trip breakers or cause overheating.
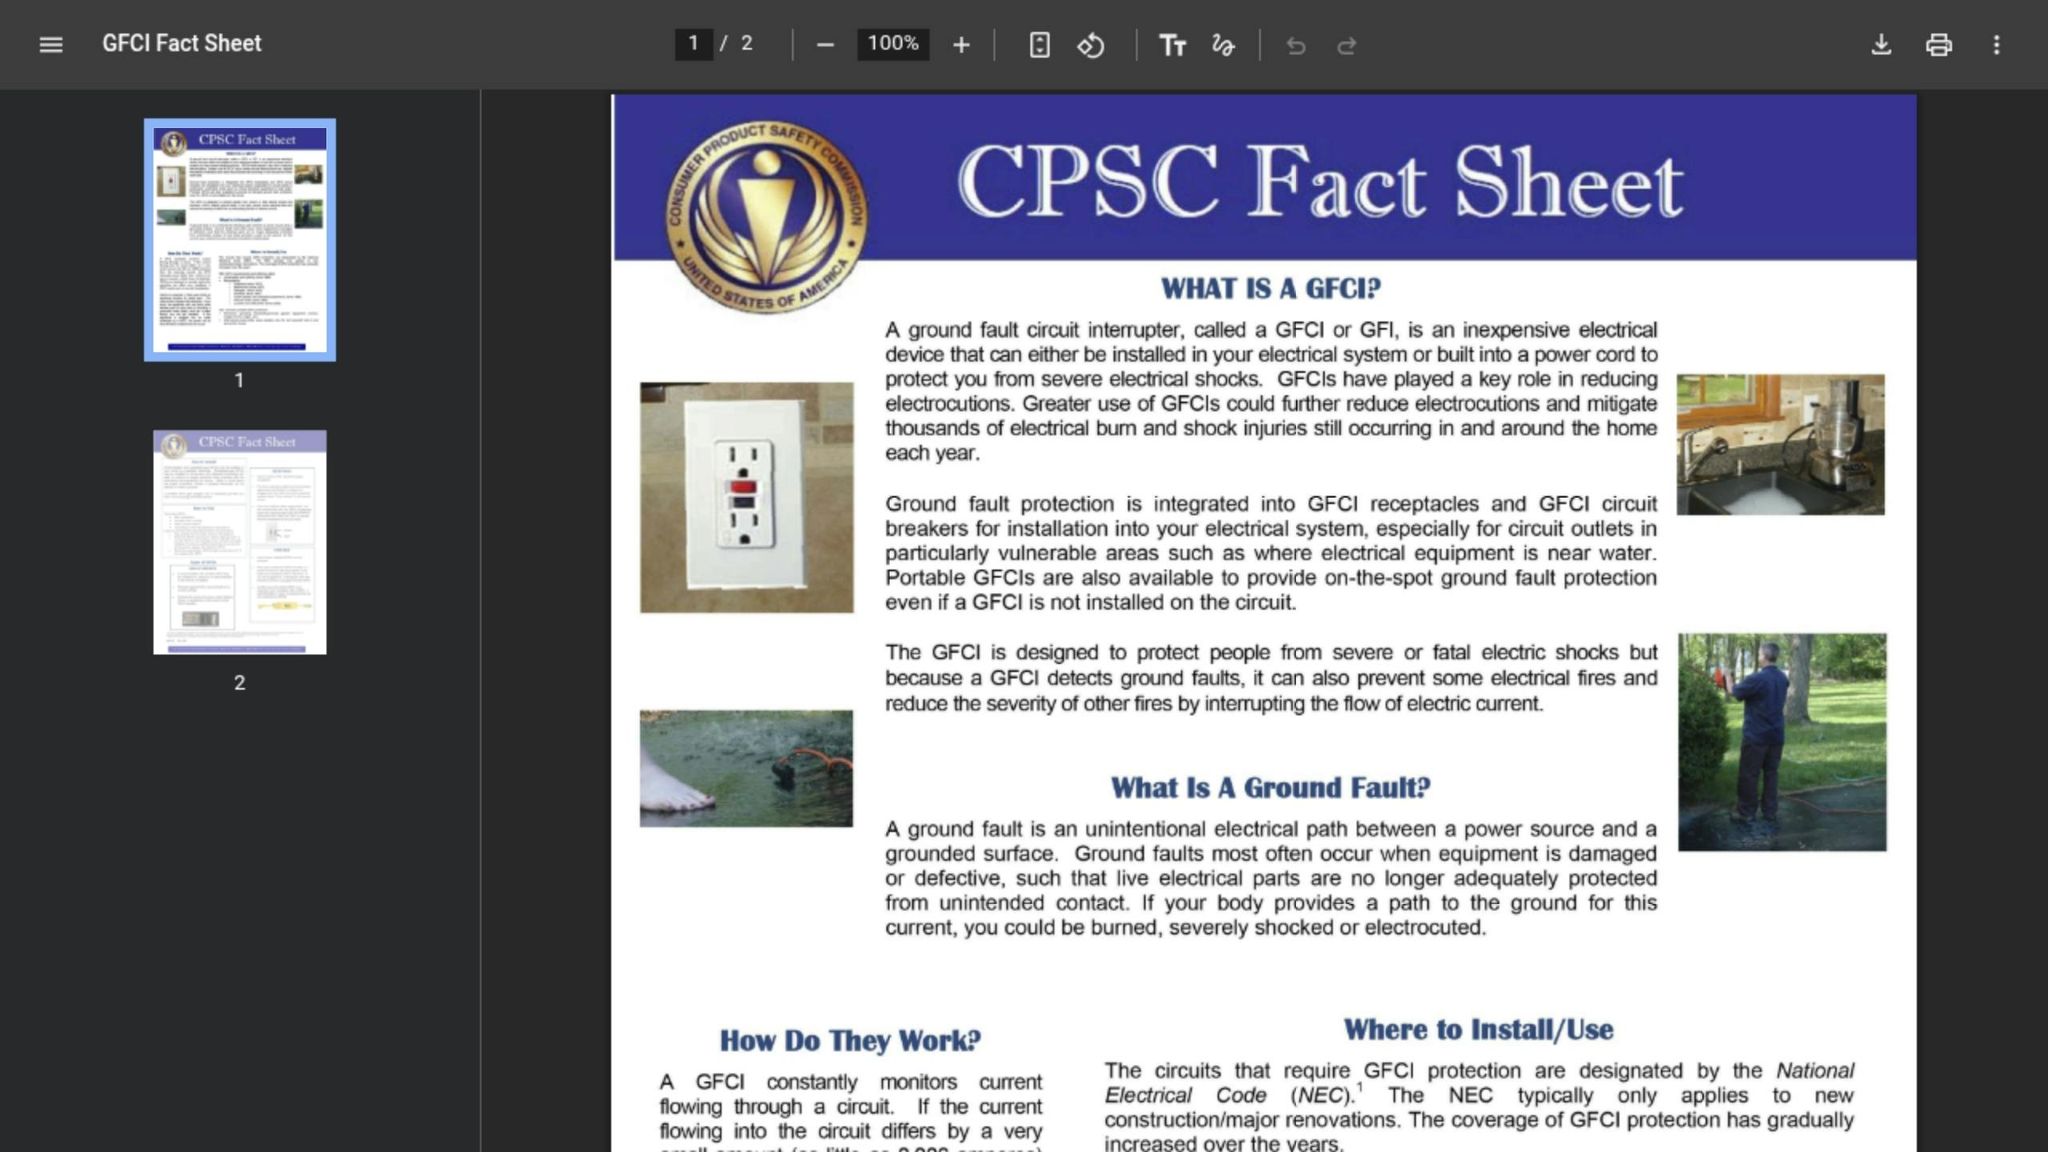
Check the manufacturer label on each strand for the maximum number of end-to-end connections allowed, and spread the load across more than one circuit. Every outdoor light setup should run from a GFCI-protected outlet. Test each outdoor GFCI by pressing the "test" button to make sure it cuts power, then press "reset" to restore it. If a GFCI fails that test, don't use it.
Then measure the display before you hang anything.
Measure Your Display and Decide When to Call a Professional
Measure your roofline, gutters, railings, and any trees you want to decorate before you buy extra strands. Good measurements help you avoid buying too much and make cord routing easier, so connections land near outlets instead of halfway through a run.
Some setups go beyond a simple weekend job. Steep rooflines, tall peaks, and multi-story homes come with real safety risks. If your display covers a large area, includes hard-to-reach sections, or you're handling a commercial property, it's smart to call a professional. Downspout Services handles residential and commercial holiday light installation in Rhode Island and parts of Connecticut.
With the footage mapped out, the install usually goes smoother and looks cleaner.
Safe Installation Methods That Cut Down on Future Repairs
Once your display is measured and mapped out, the next job is securing it the right way. How you hang lights and run cords has a bigger impact on safety and future repairs than most people think. Good hardware and smart routing help protect wiring, prevent damage to your home's exterior, and cut down on those annoying mid-season fixes.
Use the Right Clips on Gutters, Eaves, and Railings
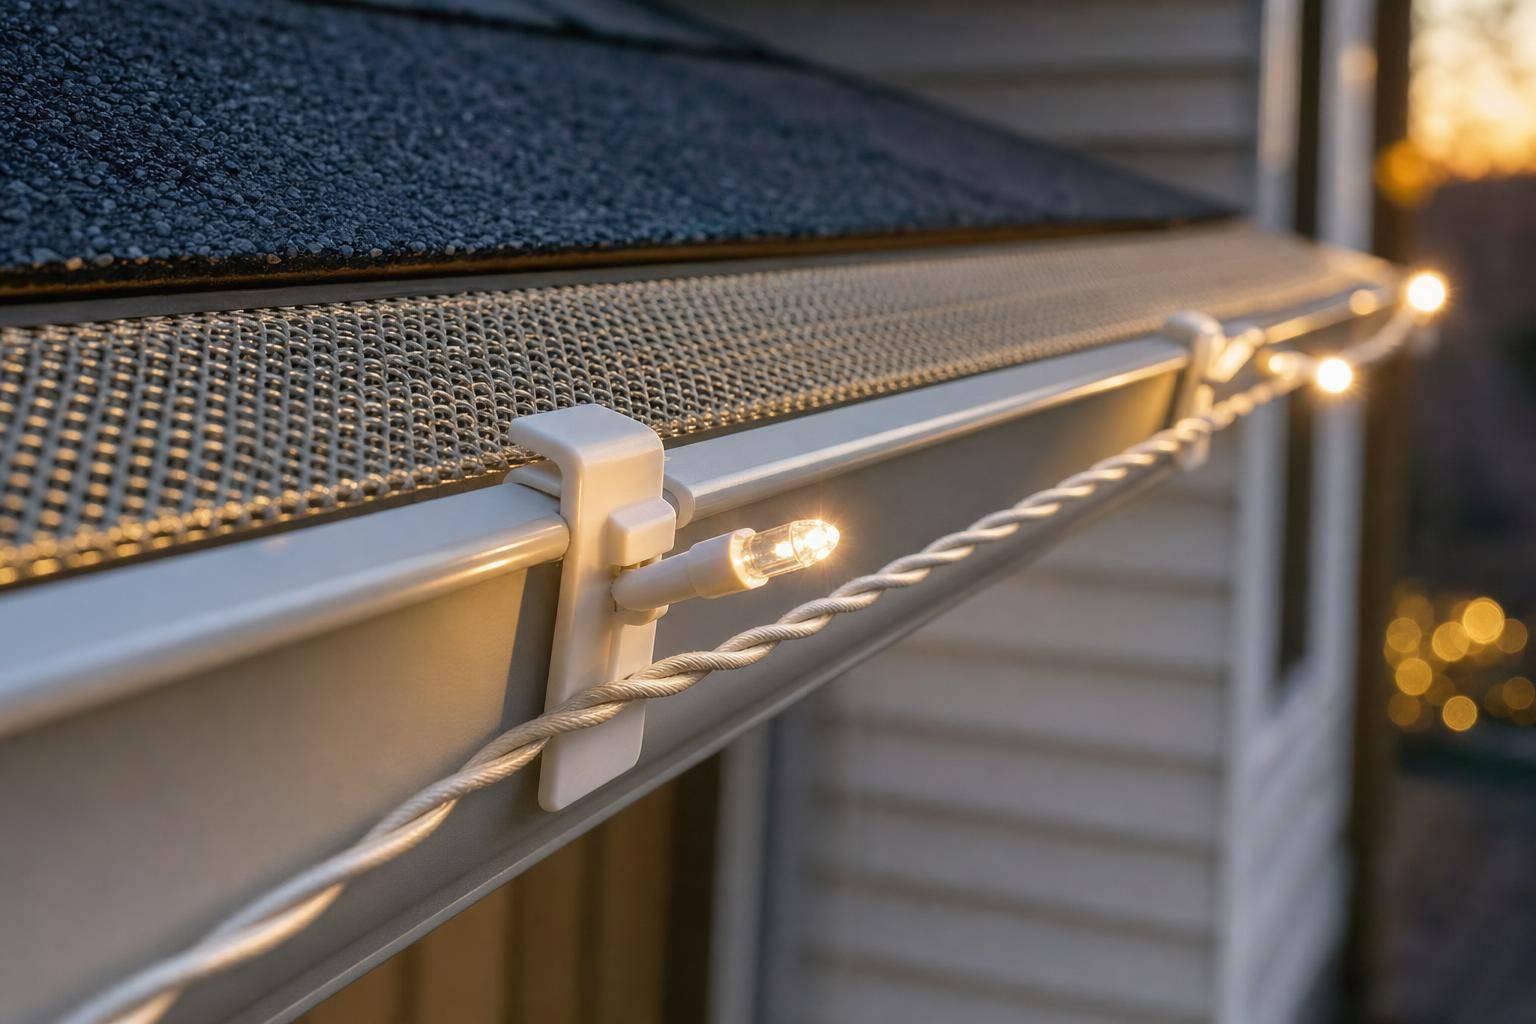
Use plastic or vinyl clips to attach lights to gutters, shingles, and eaves. They hold the strand in place without making holes. Nails, screws, and staples do the opposite. They puncture surfaces, let moisture in, and can lead to leaks over time.
For metal gutters, downspouts, and aluminum trim, magnetic hooks give you a clean way to mount lights without drilling or piercing anything. On smooth siding or EIFS, outdoor-rated adhesive hooks or removable clips can work well when the surface temperature is between 50°F and 90°F. On railings, banisters, and fences, zip ties can hold strands firmly without crushing the wire.
Space clips evenly across the run so the weight isn't hanging from just a few points. That simple step helps reduce stress on the wiring and makes seasonal inspections much easier.
Route Cords Away from Water, Foot Traffic, and Sharp Edges
Keep cords out of walkways, puddles, and other low spots. Water and foot traffic are a bad mix for light runs. Use only outdoor-rated extension cords and check the jacket for a "W" marking.
Raise plug connections off the ground and protect them with an in-use weatherproof cover. If a cord has a long vertical drop, add strain relief with zip ties or hook-and-loop straps. Otherwise, the cord's own weight can tug on the plug connection over time.
Also, don't force cords through tight bends or drag them across sharp edges. Both can wear down insulation, and that's the kind of small issue that turns into a dead section later in the season.
Run a Full Power-On Check After Installation
After everything is clipped and routed, turn the display on and inspect every section. Walk the full setup and watch for flickering areas, dim spots, or sections that don't light up at all.
A timer or smart plug can help limit run time and reduce wear. If you're dealing with a large display or multiple circuits, professional installation may be the safer choice.
If issues still show up after installation, the next step is checking the power source, fuse, or light strand.
In-Season Maintenance and Safety Checks
Once the display is up, don’t just set it and forget it. Weather can change things fast, so it’s smart to give your lights another look after rain, snow, wind, or a hard freeze.
Check for Loose Strands, Moisture, and Bulb Failures
After rough weather, walk the display and inspect each section. Watch for sagging strands, loose clips, cracked bulbs, discolored lenses, corroded sockets, and missing gaskets.
It also helps to test outdoor GFCI outlets once a month. If you notice a burning smell, hear buzzing, or feel heat at the plug or outlet, unplug the strand right away.
If part of the display stops working after an inspection, start at the power source and work outward. Check the outlet, fuse, plug, and strand.
Remove Debris Without Getting Lights Wet
Storms can leave more than puddles behind. Leaves, twigs, and cobwebs often gather around bulbs and connectors, and that buildup can trap moisture or block drainage.
Before you clean anything, unplug the lights. Then make sure everything is fully dry before you reconnect power. After unplugging the display, wipe bulbs and connectors with a dry cloth.
Schedule Maintenance Checks for Large or Hard-to-Reach Displays
Some displays just aren’t worth climbing for, especially when surfaces are wet or icy. If you have a multi-story home, a tricky roofline, or a commercial property, it makes more sense to schedule maintenance checks than to handle it yourself.
Large displays may need service both before the season starts and again while they’re still up. Downspout Services provides holiday light maintenance for residential and commercial properties in Rhode Island and parts of Connecticut. Use that approach before climbing or swapping parts.
Troubleshooting Common Holiday Light Problems
If weather or wear knocks out part of your display, move in a simple order so you can find the problem fast. After rain, snow, or wind, start at the power source and work your way toward the bulbs.
Check the Outlet, GFCI, Plug, Fuse, and Strand in Order
Start with the outlet, then keep moving down the line:
- Check the outlet. Look for looseness, discoloration, or warmth. Any of those can point to a wiring issue that needs professional attention.
- Reset the GFCI. Press Reset on any outlet with Test and Reset buttons.
- Check the breaker. Look for a tripped breaker in the electrical panel.
- Inspect the plug and fuse. Watch for scorch marks or heat at the plug. Replace the fuse if needed.
- Examine the strand itself. Look for frayed sections, cracked insulation, rodent-damaged wires, or other physical damage.
- Check the bulbs. Reseat or replace any loose or burned-out bulbs.
Fix a Dead Strand, Half-Strand, or Flickering Lights
Use this quick guide to match what you're seeing with the next safe step.
| Problem | Likely Cause | Safe Fix | Replace? |
|---|---|---|---|
| Dead strand | Tripped GFCI, breaker, or blown fuse | Reset the GFCI or breaker; replace the fuse | If it keeps failing after basic checks |
| Half-lit strand | Loose or burned-out bulbs | Reseat loose bulbs; replace dead ones | If damage is widespread |
| Flickering lights | Overloaded circuit or loose wiring | Reduce the load; check for loose bulbs | If it continues after you reduce the load |
| Entire display flashing | Short circuit or overloaded power supply | Check for wire contact with metal surfaces | If a short is confirmed or the flashing won't stop |
When to Replace a Strand Instead of Repairing It
Throw out any strand with exposed copper wire, chewed insulation, crushed sections, or scorch marks. If a strand keeps blowing a fuse even after you've reduced the load on the circuit, replace it. Older strands that keep failing should go too.
Large or hard-to-reach displays may call for professional repair.
Retire failed strands before take-down and storage.
Removal, Storage, and Getting Ready for Next Year
After troubleshooting, wrap up the season by taking down, cleaning, and storing each strand the right way. The way you handle lights now has a direct effect on how well they work next year. A rushed takedown can leave you with tangles, cracked wire jackets, and dead sections.
Take Down Lights Without Damaging Wiring or Exterior Surfaces
Always unplug the strand before touching a single clip. Take down one strand at a time, and release each clip on its own instead of pulling the whole run loose. If you yank a strand, you can tear gutter material or damage siding.
Don't nail or screw lights into shingles or soffits. Those punctures can lead to leaks.
Cold weather makes this job tougher. In freezing temperatures, wire insulation gets brittle and can crack more easily when bent or pulled. If it's well below freezing, wait for a milder day.
If any fasteners were used, pry them out slowly so you don't puncture shingles or trim. Once everything is down, do a quick check. Look for cracked bulbs, corroded sockets, and frayed insulation so you can figure out what needs repair or replacement before next year.
Clean, Label, and Store Strands in a Cool, Dry Place
As soon as the strands come down, sort them right away. That keeps damaged pieces from getting packed with the good ones.
Wipe each strand with a dry cloth before storage. Dirt and moisture left on bulbs and wire jackets can lead to corrosion and mold during the off-season. After cleaning, do one last power-on check to spot dead sections or flickering bulbs. It's a lot easier to deal with that now than when you're putting everything back up next December.
Label each run by location so setup goes faster next season. Wrap strands on reels or cardboard, mark each run, and store everything in a cool, dry place.
Get Professional Help with Removal and Storage for Larger Displays
Large or high displays are often better left to a crew than handled through repeated ladder trips. For big residential or commercial setups, especially ones that span high rooflines, multi-story eaves, or tricky gutter systems, professional removal is the safer move.
Downspout Services handles removal and organized storage of holiday lights for residential and commercial properties in Rhode Island and parts of Connecticut.
FAQs
How many light strands can I safely connect?
Always follow the manufacturer’s instructions, and don’t go past the stated limit. In most cases, that means three to five light sets.
Before you string the lights, add up the total wattage. That simple check helps you avoid overloading your circuits and keeps the setup safer.
Why does my GFCI keep tripping?
A GFCI usually trips for a simple reason: it’s doing its job. It detects an electrical imbalance that could lead to a shock risk, which is a bigger deal around water.
With holiday lights, the most common causes are:
- Moisture from rain or snow
- Damaged cords or frayed insulation
- Too many decorations plugged into one outlet
It also helps to check that your lights are UL-listed for outdoor use. And make sure plugs and connections stay away from standing water.
When should I replace a light strand?
Replace any holiday light strand that shows wear, like fraying, cracking, broken sockets, or damaged cords. If a strand looks questionable and you’re not sure it’s safe, toss it.
Swap out burned-out bulbs right away. An empty socket can make the whole string overheat.