Christmas Lights on a Wooded Lot? A West Greenwich Guide
Check access, ladder footing, and power routes before hanging lights on wooded West Greenwich lots; use outdoor-rated cords and GFCI.
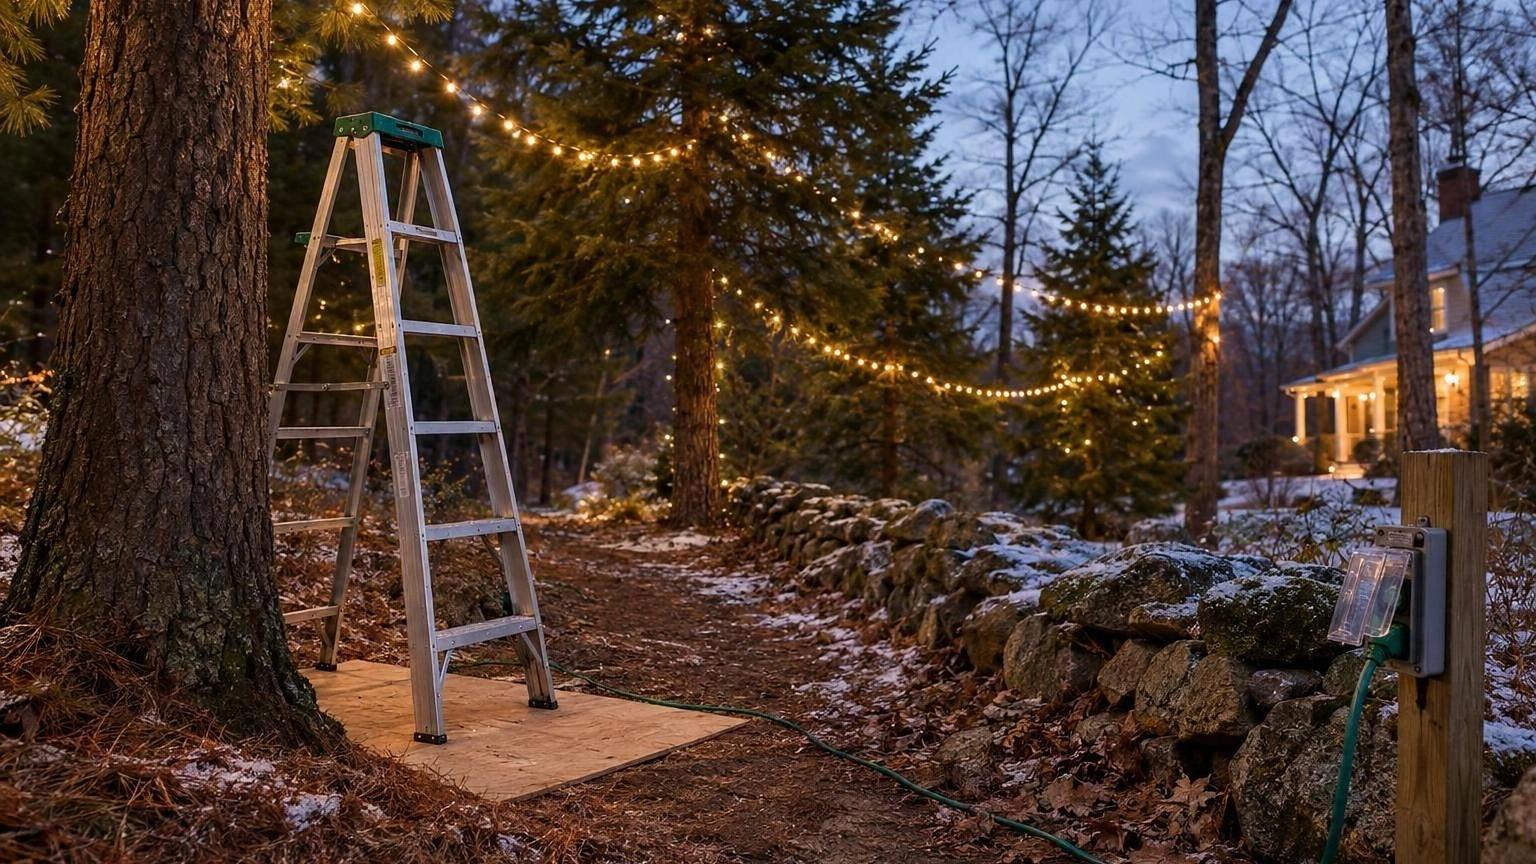
Before hanging Christmas lights on your wooded West Greenwich lot, check access, footing, and power routes. Measure each display area in feet, map cords to outdoor GFCI-protected outlets, and keep connections away from wet ground and traffic.
Your plan should cover:
- Safe access: Check roots, slopes, branches, and overhead utility lines. Stop if footing, clearance, or weather makes the work unsafe.
- Safe installation: Use outdoor-rated lights and cords, follow connection limits, and choose clips that protect gutters, roofing, and bark. Review how hanging Christmas lights affects gutters before you clip anything on.
- Seasonal care: Follow a holiday light maintenance routine: check lights weekly and after storms, then remove them without pulling on strands.
If a display area is beyond safe reach, move it, or book professional holiday light installation for that section. Plan removal before installation, and ask whether hired service includes testing, maintenance, and takedown.

Wooded-Lot Christmas Light Safety Checklist
Plan Roofline Measurements and Power Routes
Sketch each roof elevation and the nearest outdoor GFCI outlet. Mark any branches or slopes that affect visibility or access. This gives you a measurement plan for the wooded lot before you set up a ladder.
Measure Each Display Area Separately
Measure each zone separately in feet: roof edges, gables, dormers, and other display areas, including sections interrupted by branches. Keep the distance to power separate from the length of the lit run.
Measure from the ground when possible, and flag sections that need a closer look. Use the roofline measurement guide to organize your measurements before buying strands.
Keep Long Extension Runs Clear of Traffic and Moisture
Once you've measured each zone, map its cord route. Keep long runs out of foot and vehicle traffic, and keep connections away from standing water and wet leaf piles beneath trees. Use outdoor-rated cords sized for the load and run length, with GFCI protection and waterproof connections.
Check the load before assigning zones to outlets. If capacity is tight, split the display across outlets on separate circuits or use timers to stagger zones. Follow the outdoor extension-cord safety guide, and test GFCI protection before use and during the season.
sbb-itb-634c8b2
Wooded-Lot Safety: Ladders, Branches, and Uneven Ground
After mapping power routes, check whether you can safely reach each installation spot.
Before setting up ladders or poles, inspect overhead branches for hidden utility lines and dead or hanging limbs. If clearance is uncertain, stop and call a licensed professional.
Before moving equipment, check the ground route for roots, trunks, slopes, damp ground, and debris.
Wooded lots present different access challenges than open suburban properties:
Standard suburban installs usually have open access and level footing. Wooded West Greenwich lots add roots, slopes, overhanging limbs, and damp ground, making Christmas light installation difficult and higher-risk.
Check Ladder Footing and Overhead Clearance
Place ladder feet on firm, level ground, cleared of ice and debris. Avoid roots, loose mulch, slopes, and soft soil. If a trunk or limb prevents safe placement, move the display rather than force the ladder into position. Have a second person stabilize the ladder base.
Stop Work When Weather or Access Is Unsafe
Wet leaves, frost, mud, snow, and ice can weaken footing beneath shaded trees. Stop work during rain, snow, ice, or high winds. Check conditions again whenever footing or branch stability is in doubt, and seek a professional assessment if you can't find a stable spot for the ladder.
Pause the installation if the route or footing fails any of these checks.
Attach, Test, and Maintain Outdoor Christmas Lights
With the route and ladder access set, you're ready to attach the lights and plan seasonal upkeep. Before installation, check strands, cords, plugs, and sockets for wear. Test the lights for burned-out bulbs, and stay within the manufacturer’s connection limits.
Protect Gutters, Roofing, and Tree Bark
Use gutter- and roof-safe clips - not nails or staples - and keep strands from pulling against gutters. For more guidance, see hanging Christmas lights without damaging gutters.
Along uneven rooflines and nearby trees, leave enough slack for branches to sway and bark to move without straining the gutters. Wrap branches loosely so the lights stay secure without pinching the bark.
Check the Display and Plan Seasonal Removal
Once the display is up, regular checks help prevent problems caused by wooded-lot conditions. Use outdoor-rated lights, GFCI-protected outlets, and weatherproof covers or boxes. Keep plug connections off wet ground.
Inspect the display weekly and after storms. Look for loose clips, sagging strands, damaged cords, and water intrusion, paying extra attention to shaded, damp, and storm-exposed areas.
Let ice melt naturally; don't chip it off wiring. When it's time to take the lights down, remove clips by hand rather than tugging on strands. Discard damaged sets, then coil and label working strands for storage.
Conclusion: Plan a Safe Display for Your West Greenwich Lot
After planning and testing, check for unresolved safety risks before turning on the display. Pay attention to branches, slopes, long cord runs, and limited ladder access.
Unlike a standard suburban install: A wooded lot often needs separate access and power plans across multiple areas, rather than one simple roofline and outlet run.
When to Choose Professional Christmas Light Hanging
If multi-level roofs, dense branches, slopes, or limited access make DIY difficult and higher-risk after planning, book professional holiday light installation for those sections. Note exterior outlet locations, cord distances, and areas out of safe reach for ladders or equipment, so the installer can scope the whole lot. Downspout Services handles design, installation, and takedown for holiday lighting across Rhode Island, including West Greenwich. Ask any crew you consider whether installation, seasonal maintenance and testing, and removal are included. For more on the decision, read these reasons to hire professionals to hang Christmas lights.
FAQs
What cord gauge do I need for long Christmas light runs?
The provided sources don’t specify a required wire gauge, but the right gauge matters for safety and performance, especially on long runs. Use only outdoor-rated extension cords marked with a W.
Keep cords out of puddles and walkways, and protect every plug connection with a weatherproof cover. Add zip ties or straps for strain relief so the cord’s weight doesn’t pull on the connections.
How can I light rooflines hidden by branches?
Plan ahead to protect your home and trees. Clear debris from gutters so clips hold securely. Use plastic or vinyl shingle or gutter clips to avoid puncturing surfaces.
Set your ladder on firm, level ground, away from tree trunks and limbs. Don’t overreach. Leave unsafe sections unlit or ask a professional for help. Use outdoor-rated extension cords and a GFCI-protected outlet to reduce electrical risks from moisture.
What should I ask before hiring a Christmas light installer?
Ask if they carry liability and workers’ compensation insurance to protect you in case of an accident. Also, confirm they attach lights with clips - not nails, staples, or screws - so your shingles, siding, and gutters stay damage-free.
For electrical safety, check that they use UL-listed materials and GFCI-protected outlets. Make sure the service covers professional design, secure installation, maintenance throughout the season, and takedown on schedule.